Contents
Blemishes in a car’s paint are a major bummer. So let’s look at three common DIY car paint repairs.
Car Paint Chip Repair
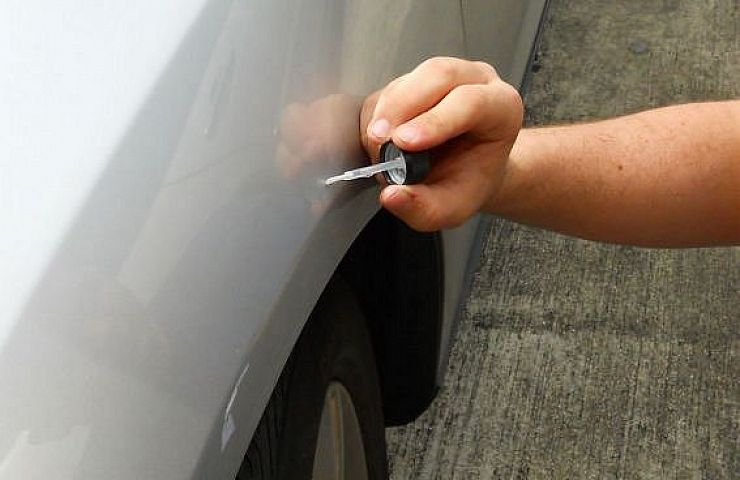
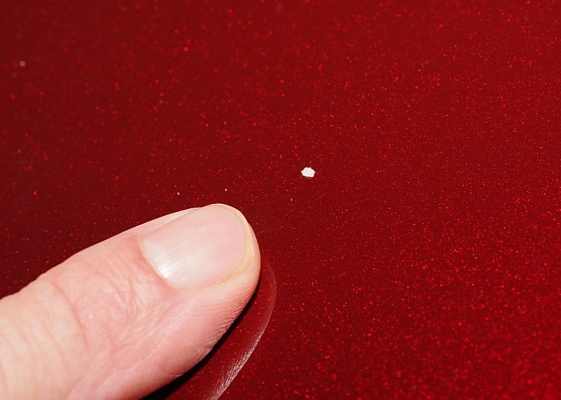 When rocks or gravel kick up on the road, they could hit your car and chip a small piece of the paint. That paint chip can penetrate the primer—exposing your vehicle’s sheet metal. Most chips in car paint are no bigger than a pencil’s diameter. Fortunately, the fix is easy and fast.
Match your car’s paint: For chips, you usually need less than an ounce of matching paint. Several eBay vendors can prepare a small bottle of paint based on a car’s year, make, and official color name.
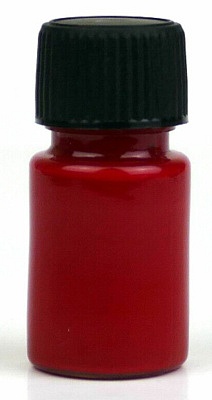 Alternatively, a local shop can scan your vehicle’s paint to determine a good match. Some companies offer a car paint repair pen, but we prefer a small paint bottle that allows for more precise application.
Make a sandpaper tool with a pencil eraser: Buy two sheets of sandpaper—320 and 600 grit. Use a hole punch to cut circles from the sandpaper, and glue one of each grit on the top of a pencil’s rubber eraser. Let the glue dry.
Smooth the edges of the paint chip: Slowly rotate the sandpaper on the end of the pencil over the chip. The idea is to smooth out the edge of the chipped paint and remove surface rust that might have appeared. Start with the heavier grit (320) and go up to the finer grades of sandpaper. Your goal is to rub your finger over the paint chip and not feel the ridge. Finally, wipe the chip area with denatured alcohol to remove the remaining wax and dirt.
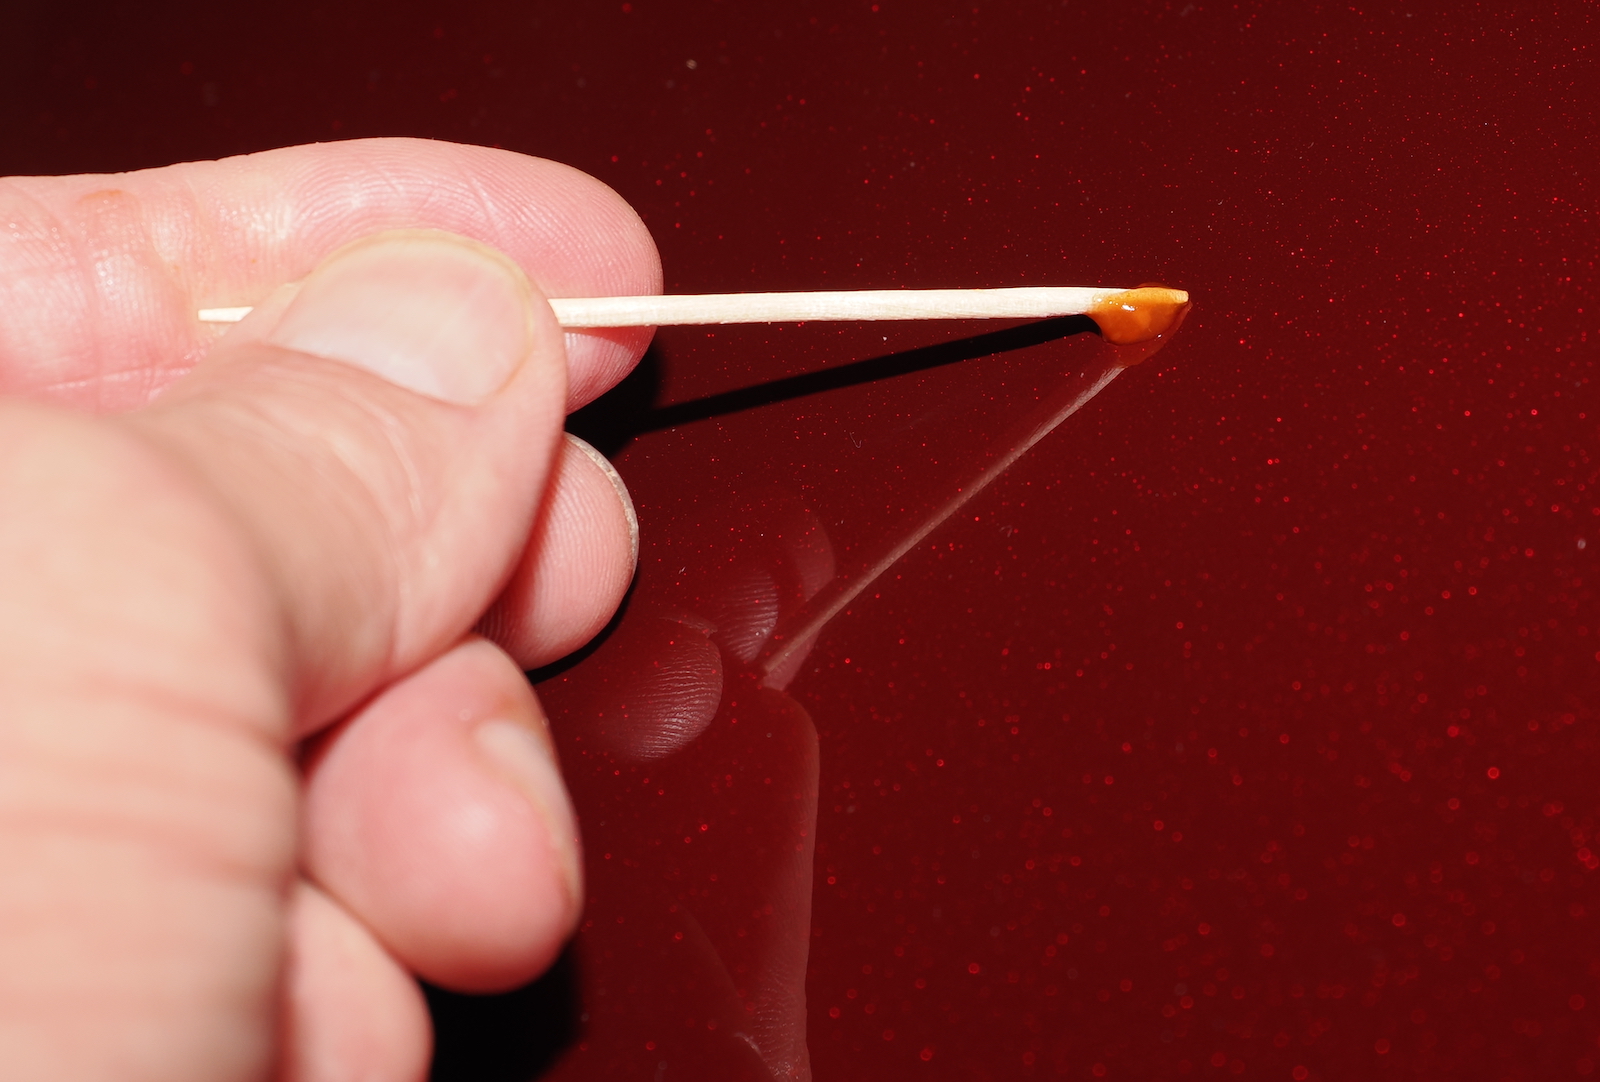
Apply paint with a toothpick: Shake the bottle of paint well and use a toothpick to dab a drop of paint on the chip in your car’s paint. Let it dry for about one hour, depending on your local conditions. Then, evaluate the chip and add one more drop at a time until the chip is covered with the paint. Depending on the size of your car paint chip, this might take up to five applications. At that point, the chipped area should be a slight paint bump flush to the original paint level.
Add car polish: A layer of car polish makes the repaired paint glisten and adds protection. Before applying the polish, remove excess paint by lightly sanding over the repaired paint chip with 600-grit sandpaper. Polish until the is no longer visible. Let the paint cure in the sunlight for a day.
Shop now for automotive touch-up paintFixing Car Paint Transfers
![]() An unsightly paint transfer happens when a shopping basket, pole, or another car contacts your car. The car surface and underlying paint are usually not affected in these situations. But if the transferred paint is different than your car’s exterior, it is unpleasant. Fortunately, fixing a transfer is another easy DIY car paint repair.
An unsightly paint transfer happens when a shopping basket, pole, or another car contacts your car. The car surface and underlying paint are usually not affected in these situations. But if the transferred paint is different than your car’s exterior, it is unpleasant. Fortunately, fixing a transfer is another easy DIY car paint repair.
First, try to rub the paint off with a microfiber cloth. If that doesn’t work, spray WD-40 on a microfiber cloth. Next, rub the cloth over the paint transfer. You can also spray a small amount of WD-40 directly on the transfer.
Wait 15 seconds, and then rub the area with a different microfiber cloth. The paint should come right off. Follow with soap and water to remove traces of WD-40. Finally, apply a dab of car polish or wax to protect the paint.
Smoothing Car Paint Swirls
Swirls look like circular spider webs in your vehicle’s paint. They are caused when dust and dirt get embedded in the cloth used to wash your car. The dirt gets pushed against the paint and causes tiny circular scratches. Here’s how to tackle this car paint repair.
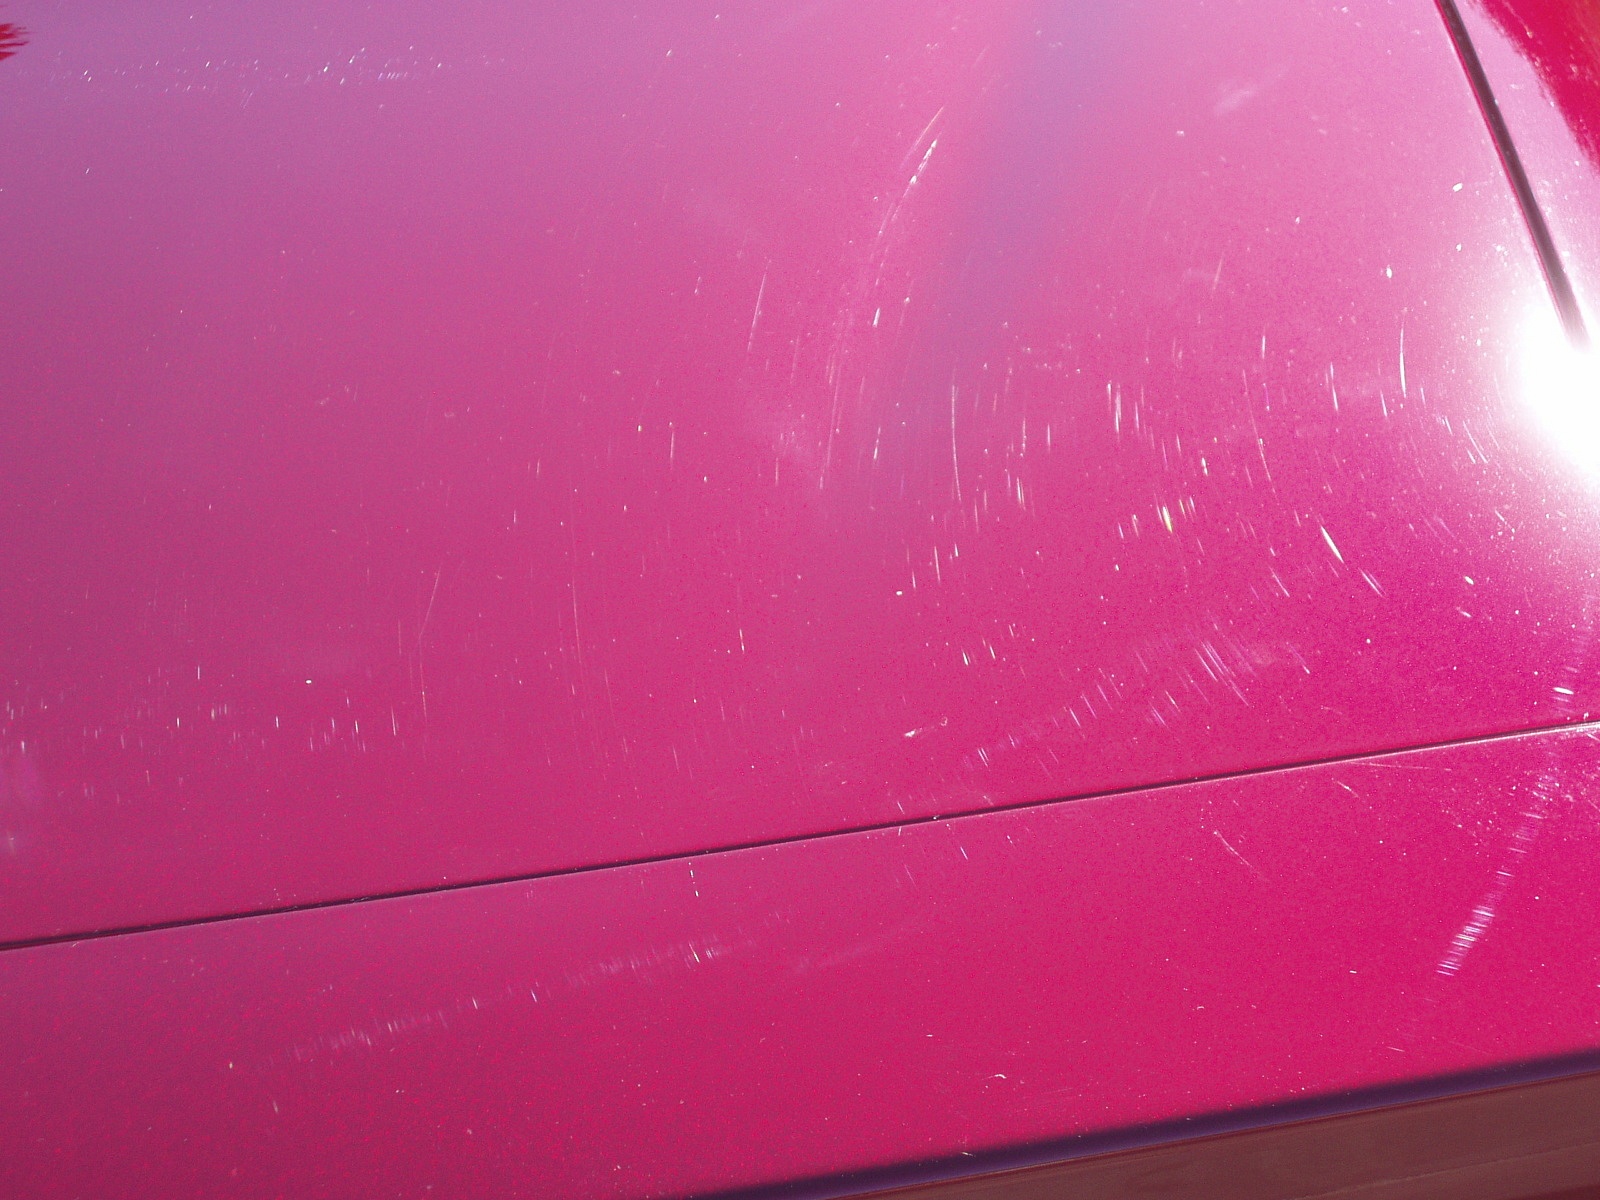
To fix a swirl, apply a car paint cutting compound—a thick liquid that has grit—to remove a thin layer of the paint’s clear coat. Be careful to remove the least amount of clear coat necessary to get the job done.
An alternative approach is to use auto glaze, a liquid with refined oil and compounds. Apply a thin layer of auto glaze, let it set for ten minutes, and then buff it with a clean microfiber cloth. The glaze fills in the scratches to restore the car’s shine.