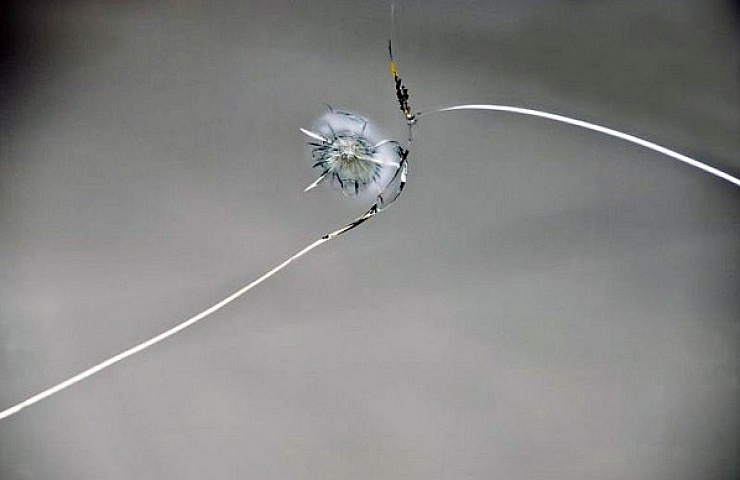
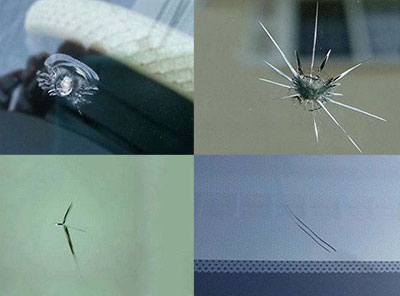
Windshield repair kits are well-suited for repairing circular damage that’s less than inch long or cracks less than 12 inches in length.
If you’re a daily commuter, it’s only a matter of time before a small piece of road debris hits your car’s windshield with a loud pop. The sound can be a little scary—but maybe not as disturbing as the ka-ching of the windshield-repair service’s cash register. You can avoid excessive repair costs—and still prevent problems from a chipped or cracked windshield—by fixing the damage yourself. Windshield chip repair is an easy DIY project.
Be advised that, if the damage to your windshield is significant (more than a few inches in length), the safe move is to entirely replace the glass. But depending on the kind of chip or crack and its size, you might be able to repair the damage for less than $20 with a windshield-repair kit purchased on eBay Motors.
Most kits contain everything you need to efficiently repair a chip. They work best on damage in the shape of a star or irregular circle—and less than one inch in diameter. If that’s the case, then the entire repair job should only take about 20 minutes. We used the Rain-X Windshield Repair Kit to get the job done.
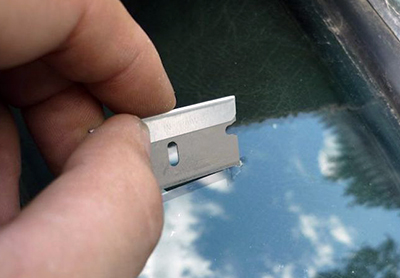
Start by gathering your supplies: the chip repair kit, glass cleaner, paper towels, a razor blade, and masking tape. Then find a cool workspace to avoid direct sunlight.
1. Clean the windshield around the damage.
For best results, thoroughly clean the damaged area.
A clean surface is essential for the windshield chip repair kit’s suction cups to stick to the windshield. Use a razor blade or a burnishing tool to pick out any loose glass chips embedded in the chip or other irregularities that could keep the repair from properly bonding. Thoroughly clean the area and allow it to dry before moving to the next step.
2. Attach the suction cup device.
The next step is to attach the repair tool to the windshield. Position the suction cups around the damage and make sure they firmly attach. Then twist the repair tube into the suction cup tool. A proper repair is dependent on the precise alignment of the suction cup and repair tube, so double-check that it is positioned precisely over the damage. Check the alignment from inside the car.

Make sure that the repair tool is precisely positioned.
3. Add the windshield chip repair resin.
Open the tube of resin and insert it into the device that you just installed. You don’t need a lot of resin to repair the damage—just two to four drops will suffice. Immediately after adding the resin, insert the plunger cap, tightening it almost all the way down. The plunger will force the chip repair resin into the damaged area. After tightening it once, briefly loosen the plunger to allow air bubbles to escape. Then retighten the plunger. To make sure all the air bubbles are gone, repeat this step two or three times.
4. Apply the windshield chip repair curing strips.
Give the resin about two minutes to get absorbed into the damaged glass. Then, remove the suction cup tool from the windshield. Quickly place the clear plastic curing strips over the repair area before the resin dries, using the razor blade to squeegee the resin to the edges of the strips. The goal is to make the excess resin as thin as possible so it can be removed later. Taping the curing strips to the windshield will make sure everything remains stable while the resin is setting.
5. Finish the job.
Let the materials fully cure for about 10 minutes before removing the curing strips. If you remove the strip and find that the resin is still wet, add a drop or two of fresh windshield chip repair resin, re-apply the curing strip, and let it dry again. When the repair is thoroughly dry, take your razor blade and scrape off the excess resin from the windshield. If the fix isn’t perfect, repeat the process until it’s smooth and clear.
See Automotive Windshield Repair Glass Repair Kits for sale on eBay.