Contents
The History of Heated Car Seats
Leather is notorious for retaining the cold in winter. When more cars started using leather upholstery, heated seats became a popular option, especially for luxury cars.
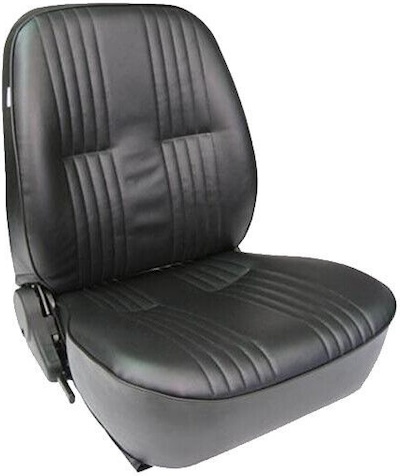
Heated car seat with leather upholstery
Early versions of heated car seats used copper wires to provide the heat. Today, most use a carbon fiber overlay as the heat source. It may sound high-tech, but the carbon fiber versions are less fragile, distribute heat more evenly, and are more reliable than the old copper wire versions.
Heated seats have an insert of carbon fiber placed next to the upholstery. When activated, electricity heats the carbon fiber, and the heat transfers through the upholstery to warm the passenger.
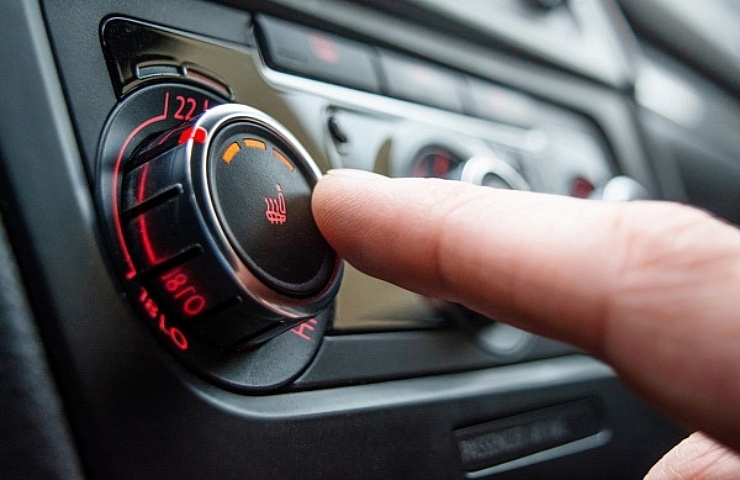
Most heating elements have two connected sections: one for the seat back and one for the bottom. Heated seats use either a switch with different heat settings or a thermostat that regulates the amount of heat.
How to Install Heated Seats
The easiest way to install the heating element is by removing the seats from the vehicle. Typically, four bolts hold the seat onto a mounting frame. There could be electrical connections for occupant sensors, power-adjustable seats, and airbags under the seat. Check the specific installation directions for your car.

Hog ring pliers with the rings or zip ties that secure the upholstery to a flat metal bar in the seat frame.
What you need:
- Heating pad kit, which should include a wiring harness, an Add a Fuse, and a switch
- Hog rings or zip ties
- Wrench
- Hog ring pliers
- Wire cutters
- Corded or cordless drill
Related: Adding a Circuit to a Fuse Box
Preparation
Before you begin the installation, prepare the car:
- Disconnect the battery
- Remove the bolts holding the seat in the car.
- Disconnect any electrical connections with the seat.
- Cover your seat or the door opening with towels to prevent any damage to the upholstery during the removal process.
- Carefully remove the seat and place it on a level surface or workbench.
- Flip the seat so you can view the seat bottom.
- Hog rings or zip ties secure the upholstery to a flat metal bar in the seat frame. Hog rings are like tiny key rings made from sturdy C-shaped wire with sharp points. When closed with hog ring pliers, they pierce the fabric, form a circle, and secure the material to the seat frame. Use wire cutters to remove the hog rings carefully.
- Remove enough hog rings so that you can loosen the seat bottom. You need to be able to reach up to the seat back and the seat bottom.
- Place the seat in the upright position.
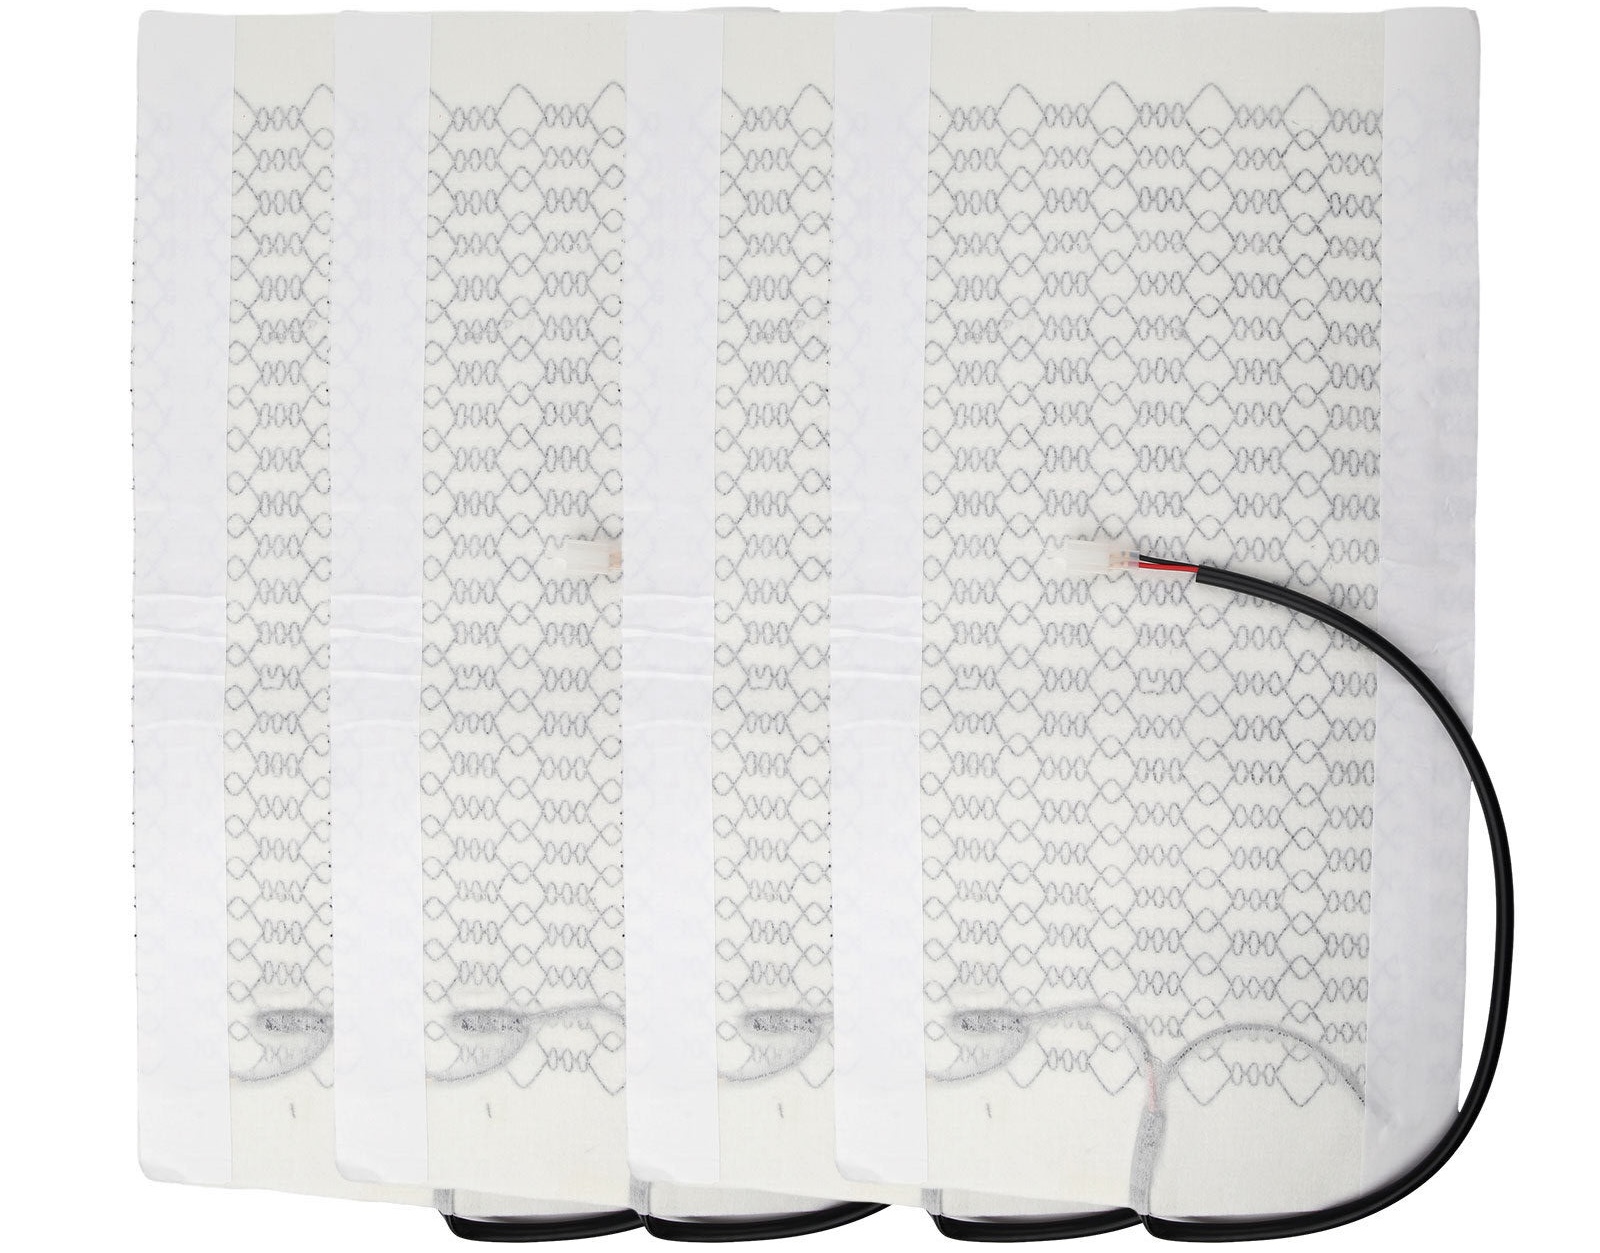
Heated seat pad
Installation
Now you’re ready for installation:
- Trim your heated seat pad to fit if necessary. Do not cut any of the carbon fiber heating elements.
- Position the pad loosely on the bottom cushion. Ensure the pad’s adhesive strip is against the foam of the car seat, but don’t stick it down yet.
- Similarly, position the upper section of the heating pad along the back portion of the car seat.
- Smooth the pad out and check for any creases or wrinkles.
- When the seat back pad is in place, carefully remove the protective film from the adhesive strips.
- Press the adhesive strips firmly against the seat cushion foam.
- Check to make sure the seat upholstery is smooth and in place.
- Place the bottom heating element along the seat’s bottom cushion.
- Make sure there are no creases or folds.
- After you’re satisfied with the placement, remove the film from the adhesive strips and press firmly against the cushion.
- Pull the upholstery along the bottom of the seat. Smooth it to ensure the upholstery fits snugly.
- Flip the car seat so you can see the bottom of the seat frame.
- Pull the upholstery snugly into position and reattach using new hog rings or zip ties.

Wiring
With the heating elements in place, it’s time to connect the wiring:
- Run the electrical wiring along the side of the car seat.
- Continue to run the wiring along the center console or sill plate to the car seat area, depending on your preference and the car’s layout.
- Insert the wiring harness in the car’s fuse box. Look for an empty circuit with sufficient amperage, or use an Add A Fuse to create a new circuit. Most installation kits include the Add a Fuse if you find you need it.
- Find a location under the dash or near the center console to position the switch.
- Drill a small hole through the panel to access to the switch.
Finish Up
Finally, replace the seat in the car:
- Position the car seat back onto the frame for mounting. Ensure that none of the wiring interferes with any power seat movements. Use a plastic tie to hold the new wiring in position along the seat frame.
- Bolt the seat back into position.
- Connect the battery and check for proper operation.
You could install the heated seat only at the driver’s position, but installing the heated seats to both front seats is preferred.
Heated Seat Cover Option
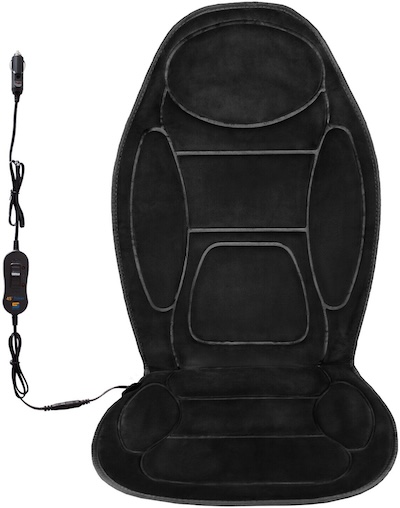
A heated seat cover
If this installation seems like too much work or you are not planning to keep the car long, you can purchase a heated seat cover. It plugs into the 12v power outlet and functions in much the same way as installed seat heaters. However, in this case, the heated seat cushion is removable.
It’s not a factory look, but it serves the same purpose. This is a good option if you frequently rent cars and want the convenience of heated seats.
Adding a heated seat to your car takes about two hours and provides countless hours of driving comfort. The kits typically cost $50 to $200, depending on the features.
Shop now for Heated car seat coversSee Seat Heater for sale on eBay.