For decades, headlights were made with glass lenses. When they cracked or broke, car owners had to buy a whole new headlight. They swapped in the new one and got back on the road.
Now car manufacturers use plastic lenses and frames to cover pricey bulbs or LED strips. Unfortunately, daily exposure to the harsh sun and road grit quickly results in milky, yellowed, and foggy headlights. But that’s very fixable.
Check out these real world examples to learn how to restore headlights (with pictures) using a headlight restoration kit.
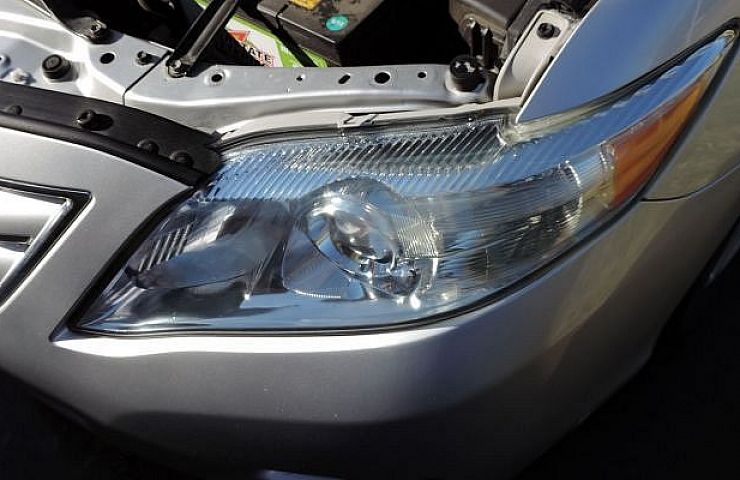
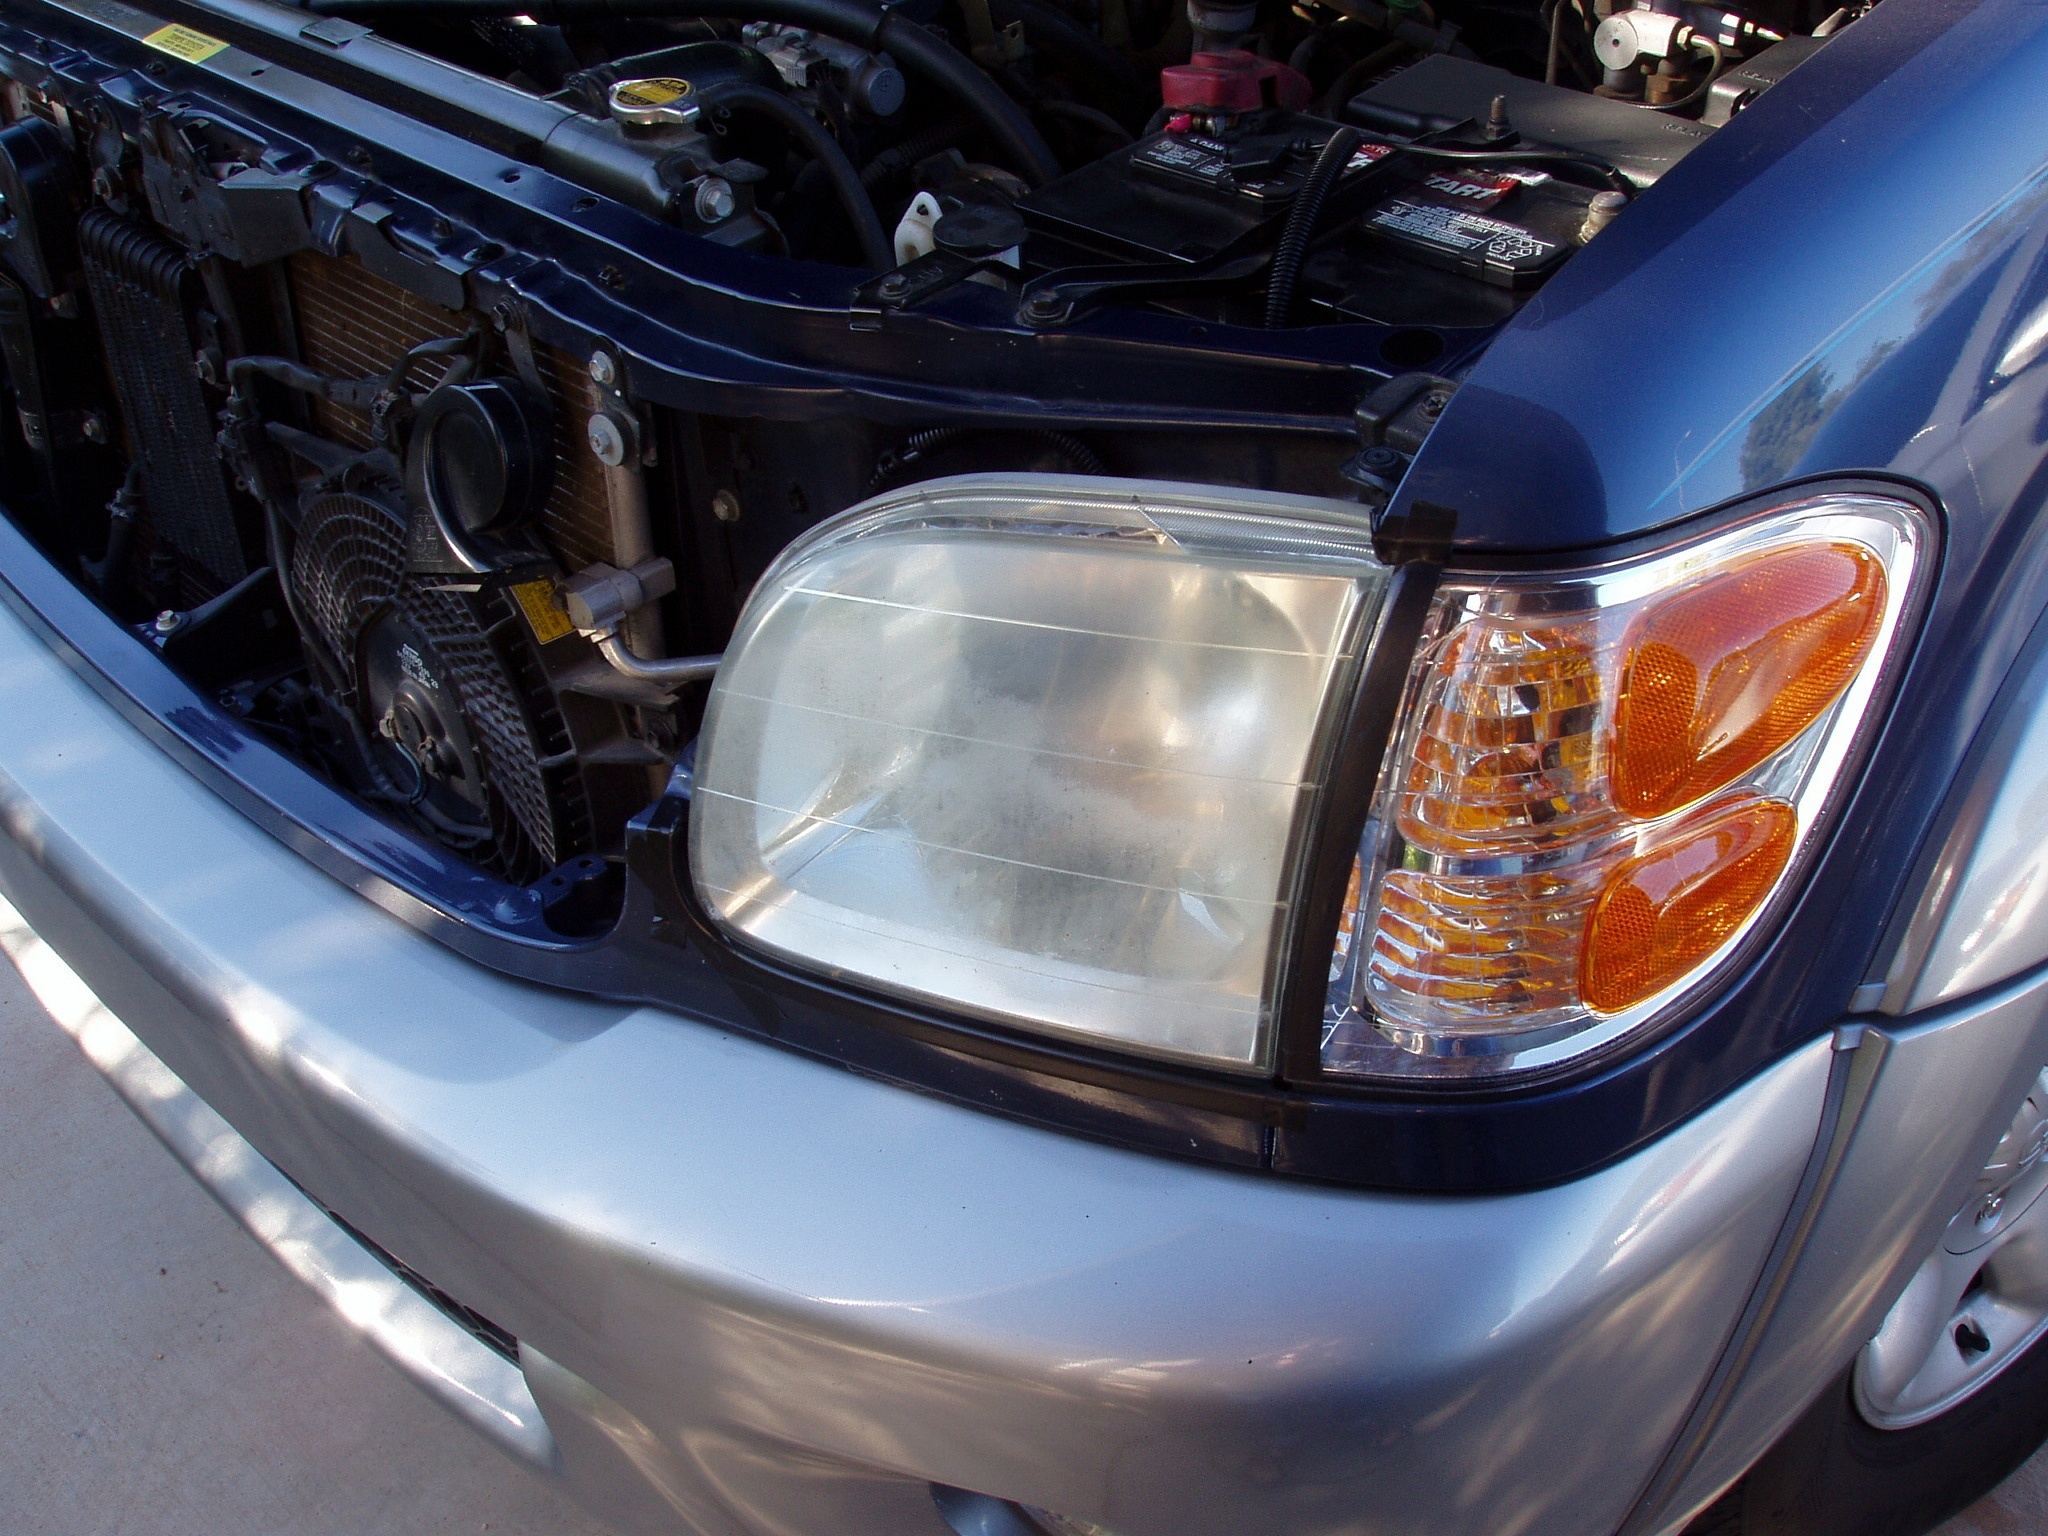
Before:
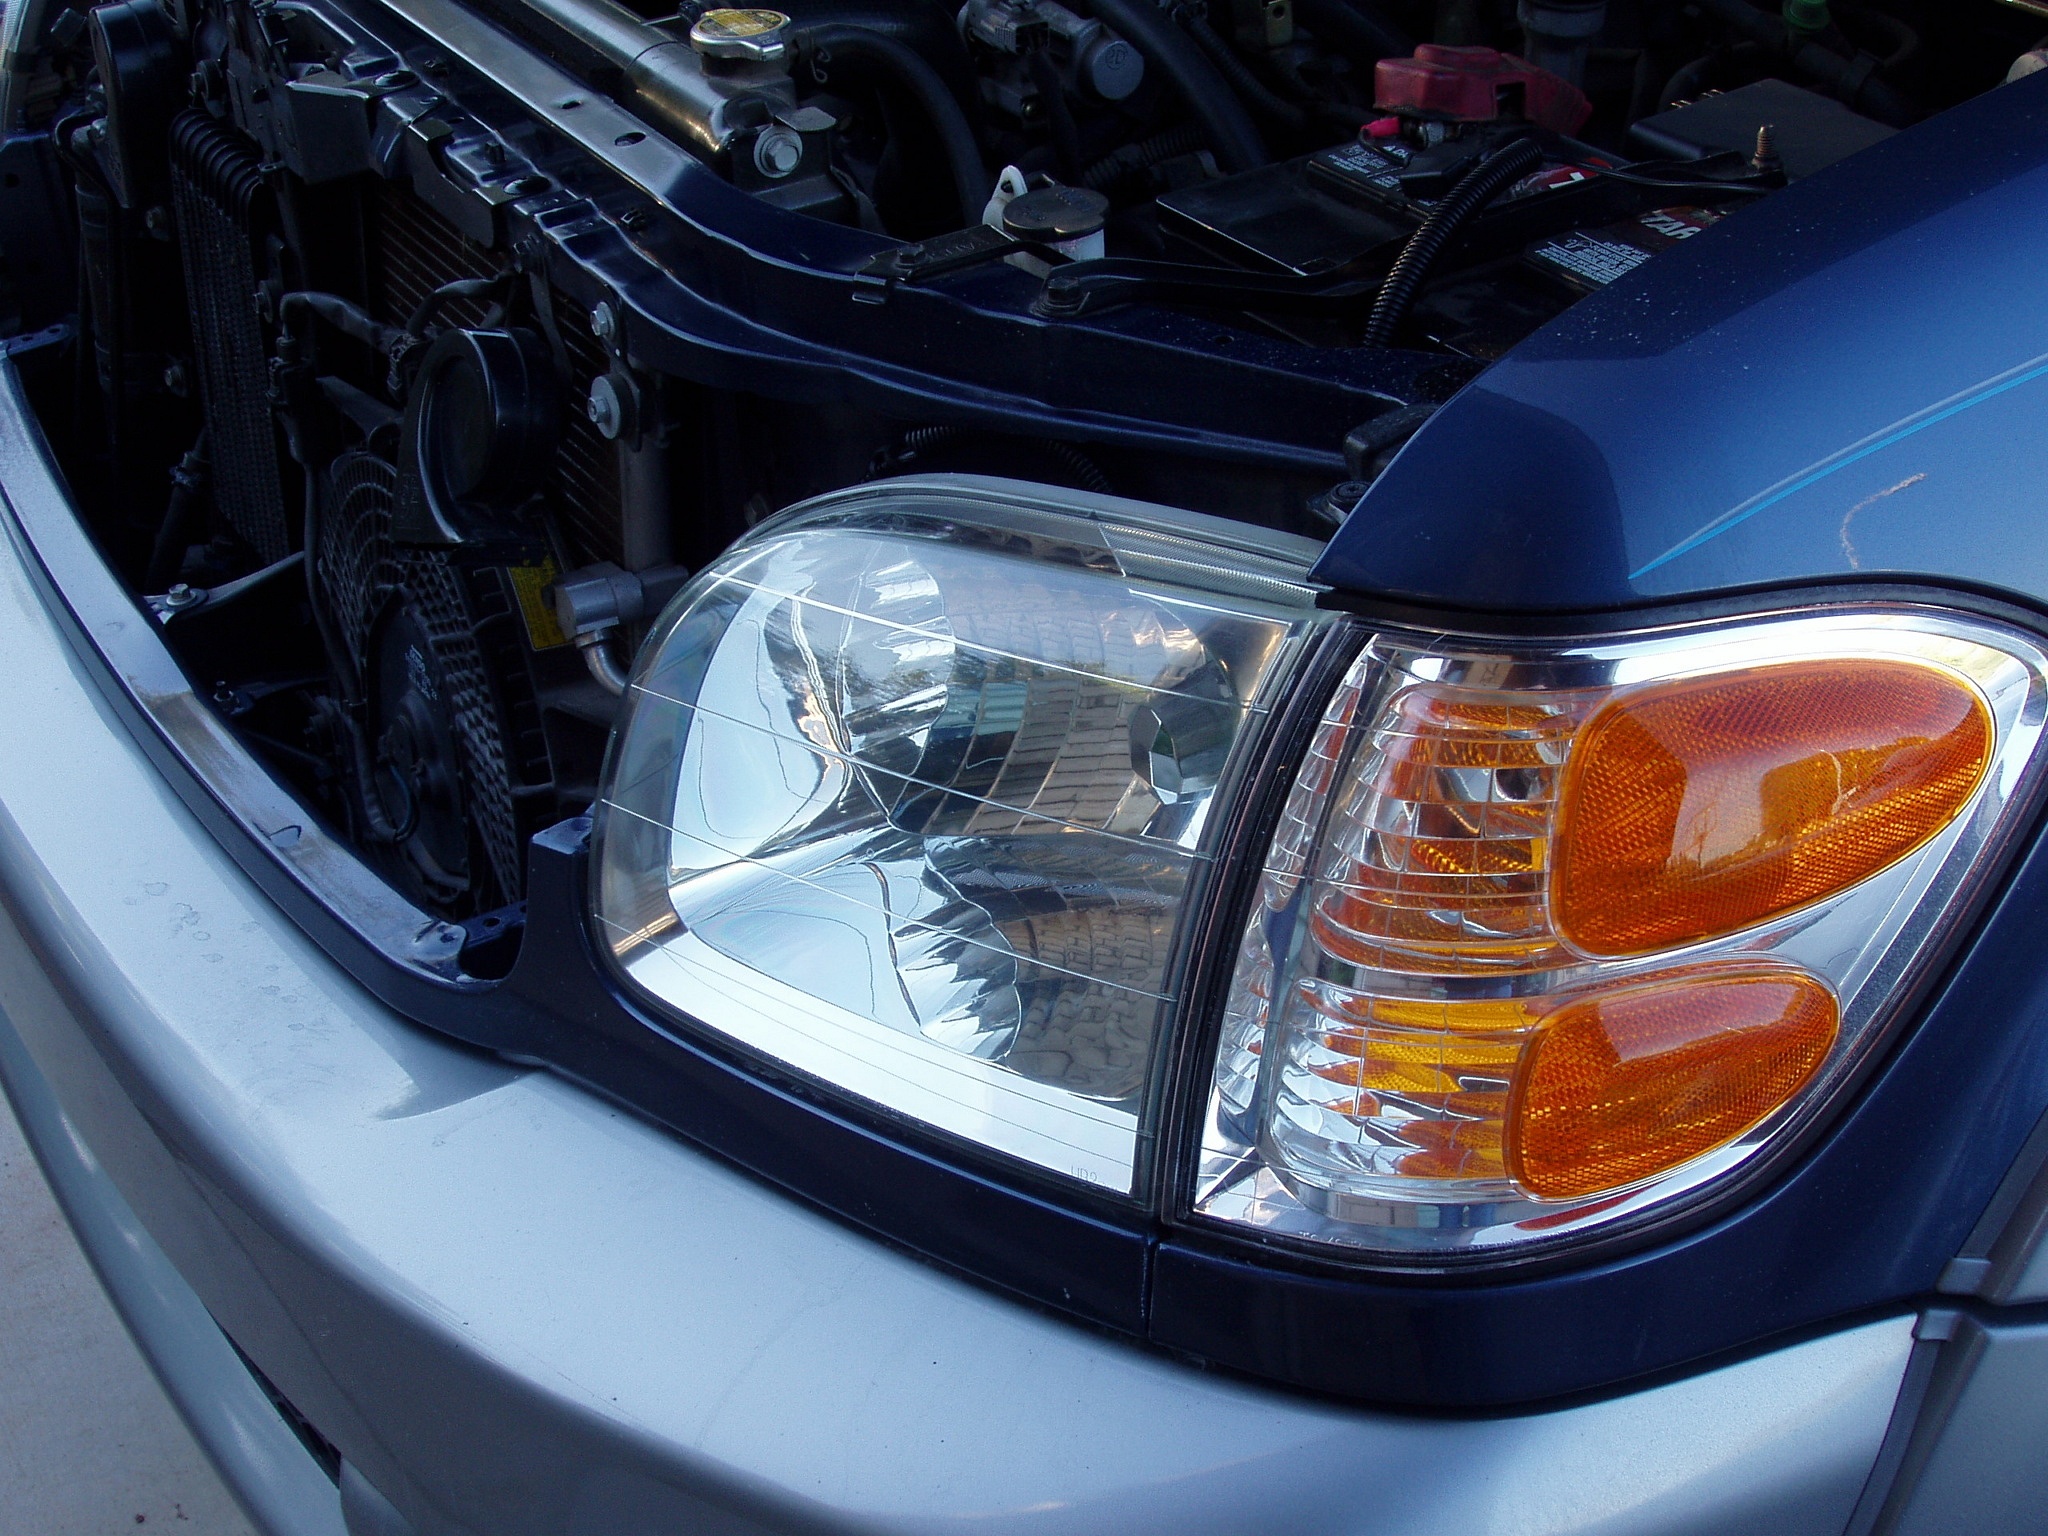
After:
A Headlight Restoration Kit Saves Money
A single new replacement lens can cost more than $300. That leaves some motorists scrambling for folk remedies (like insect repellant and toothpaste) to restore headlights. But those are short term, cosmetic fixes at best.
However, eBay has an excellent selection of affordable, high-quality headlight polishing kits to bring new life to old lenses. We tried many of them over the years. The results are amazing. The right kit can keep your headlights looking new for many years.
Some kits can be used by hand, while others require a drill. Be advised that some kits might not offer a UV protestant coating, requiring a follow-up step.
On the other hand, with the right headlight restoration kit, you can follow these six easy DIY steps to achieve remarkable results in less than an hour.
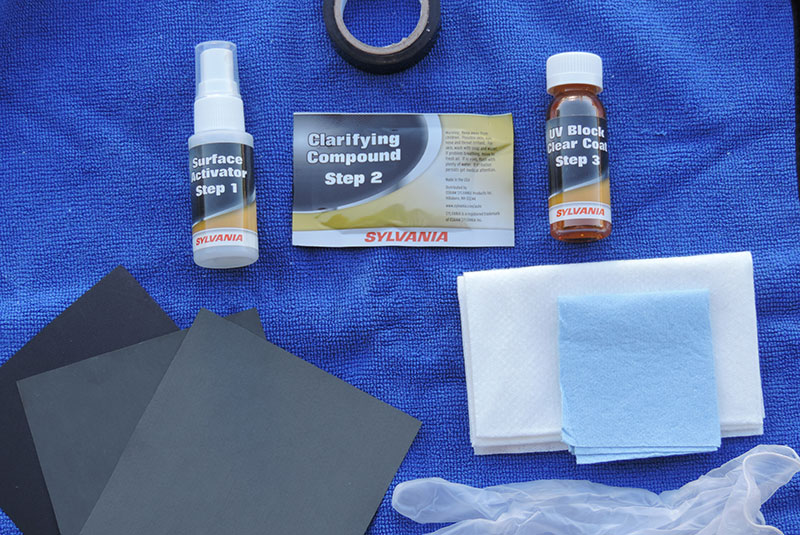
For this process, we used Sylvania’s Headlight Restoration Kit. Most other name brand kits offer similar supplies. You’ll also need a spray bottle of water, towels, and protective tape. (In addition to the steps below, you should also read the manufacturer’s instructions.)
How to Restore Headlights (with pictures)
Step 1: Clean off the lens with soap and water. Then apply protective tape on the body panels adjacent to the headlight lens. If you want a larger safety margin, you can also use wide painter’s tape. Because you will sand the lens, you really should protect the painted metal from an accidental swipe. (If your kit did not include tape, vinyl electrical tape will work and leave no harmful residue.)

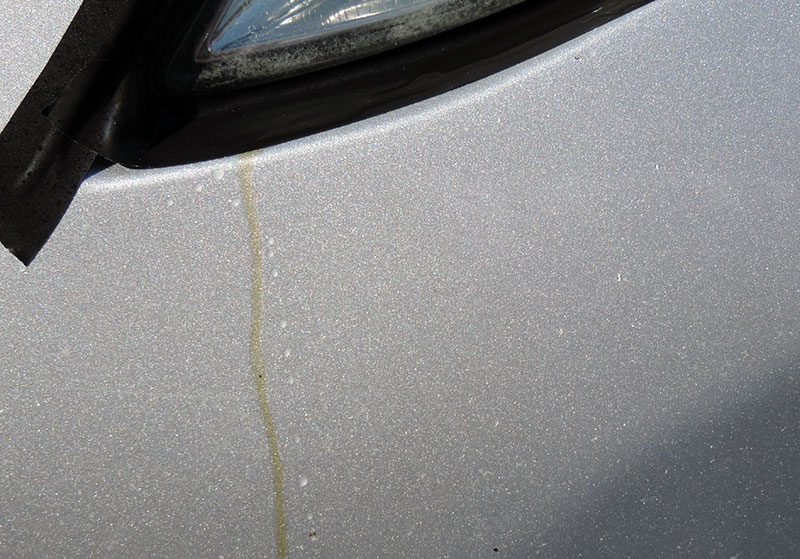
Step 2: Spray the so-called Surface Activator on the lens. Be prepared for ugly yellow streaks to drip down, but they won’t harm the paint. After 30 seconds, rinse off the lens and the adjoining body panels.
Step 3: Apply a light coat of water from your spray bottle on the lens. Start sanding with half of the sandpaper, using coarse 400-grit paper. Reserve the other half for the second headlight. Keep the lens and sandpaper wet as you sand the entire surface for five minutes. Use light, circular motions.
Rinse and repeat with the finer grits—1,000 and 2,000. Always start with the roughest grit (the lower number) and work your way up to your kit’s highest grit. Expect the lens to look cloudy white. That’s normal, but it should feel smooth to the touch.
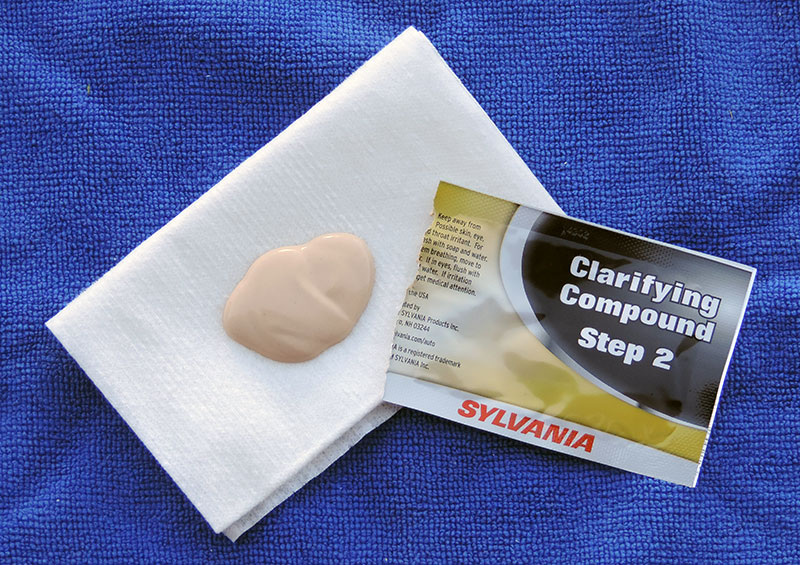
Step 4: Now use half the Clarifying Compound (or polish) on a white towel. Rub it on the lens for five minutes. Continue to use a light, circular motion to smooth the surface further. Rinse and dry the lens.
Step 5: Use the Surface Activator spray bottle once again to clean the lens totally. Let it set for 30 seconds and rinse off. Now thoroughly dry the lens and remove the protective tape from the car.
If you are doing both headlights, Sylvania recommends that you repeat all the above steps for the other headlight before moving to the final step.
Step 6: Living in sunny Arizona, I find this last step essential to keeping your lens clear. A UV blocker helps to reduce on-going damage from the sun’s rays.
Wear the protective glove provided in the kit. Soak the edge of the blue paper towel with the UV Block Clear Coat and apply it with a side-to-side stroke in one continuous motion. Repeat this process as you work down the lens and apply more liquid to the towel as necessary. Be careful not to use a swirling motion—instead, use one long swipe. This liquid removes the haze and brings back the full clear coating to the lens and prevents it from aging again.

Before the liquid evaporates, repeat the clear coat’s application for the second headlight in the same manner.
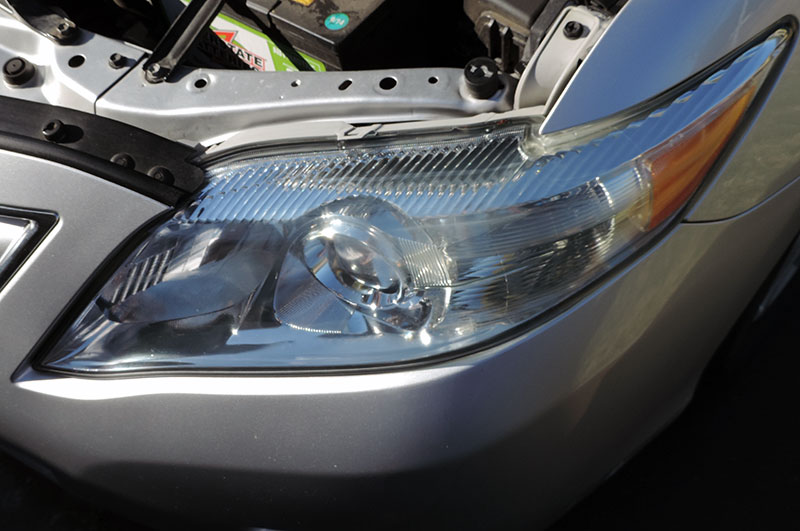
The result is a sparkling clear headlight lens.
Finally, let the coating cure and dry for at least one hour. Don’t wash the car or touch the lens during this time. Full curing takes up to six hours. If your kit did not include a UV protectant, you could buy a standalone product.
We used the Sylvania Kit on a few cars and have been pleased with the long-lasting results—all for a modest investment and about an hour of easy work. The payoff is as clear as those refreshed lenses. Now that you’ve seen how to restore headlights (with pictures), it’s time to get to work.