Contents
Drum brakes have provided stopping power to cars for more than a century. But drum brakes have well-known shortcomings. Fortunately, converting from drum to disc brakes, which are more effective, is a straightforward task. All you need is an afternoon, some essential tools, and a disc-brake conversion kit.
Shop disc brake conversion kits
What’s Wrong with Drum Brakes?
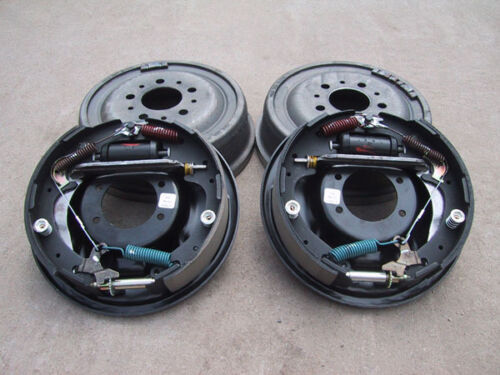
A typical drum brake setup
In basic terms, drum brakes consist of a pan (or drum) that fits over the wheel studs. When the brake pedal is pressed, two curved brake shoes press against the inside of the drum.
There are three primary drawbacks with drum brakes. Here’s the first problem. When drum brakes are applied, heat builds up inside the drum. As the heat builds up, the brake lining on the brake shoes loses its efficiency.
This loss of gripping power is evident on a long and steep downhill stretch. This phenomenon can turn a long descent into a nerve-wracking thrill ride.
Another problem is wet road conditions. Brake shoes are not as effective in rain and snow. Also, moisture can reside in the drum—resulting in rust and corrosion of the moving parts over time.
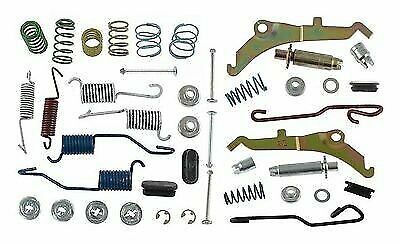
A kit of parts for a drum brake system
Finally, drum brakes are prone to wearing out, leaking, or getting out of alignment. That’s because drum brakes have many moving parts: pistons, levers, gears, and springs. The complexity makes replacing brake shoes an unpleasant experience. Springs pop out. Other parts stick together and refuse to budge.
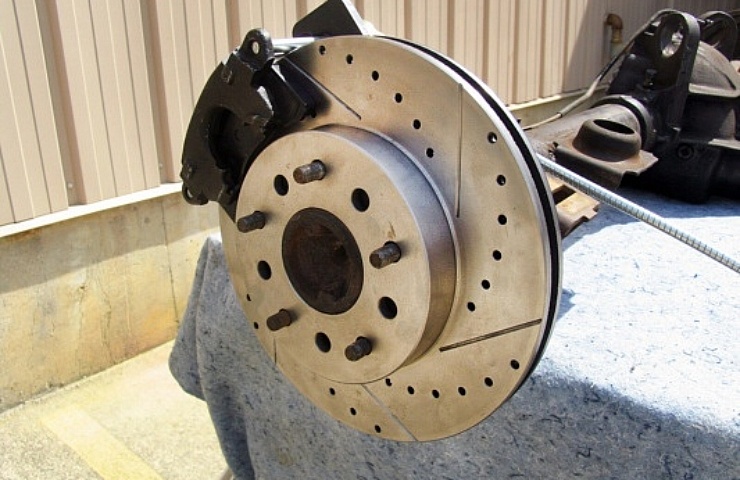
Disc Brakes Are Better
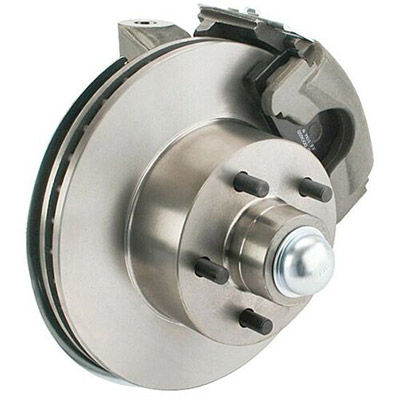
With a disc brake, the caliper’s pads squeeze the rotor.
Disc brakes utilize a different design. A rotor is attached to the wheel studs, and a caliper mounts over the rotor. When the brake pedal is engaged, the caliper’s pads squeeze the rotor, bringing the car to a stop.
The calipers used in disc braking use more effective brake pads. They are self-adjusting and less likely to lock up the wheels.
Disc brakes are exposed to the outside environment, so heat is less likely to build up. That decreases the chances of “brake fade.” Likewise, corrosion from moisture is less of a problem.
Shopping for a Disc Brake Replacement Kit
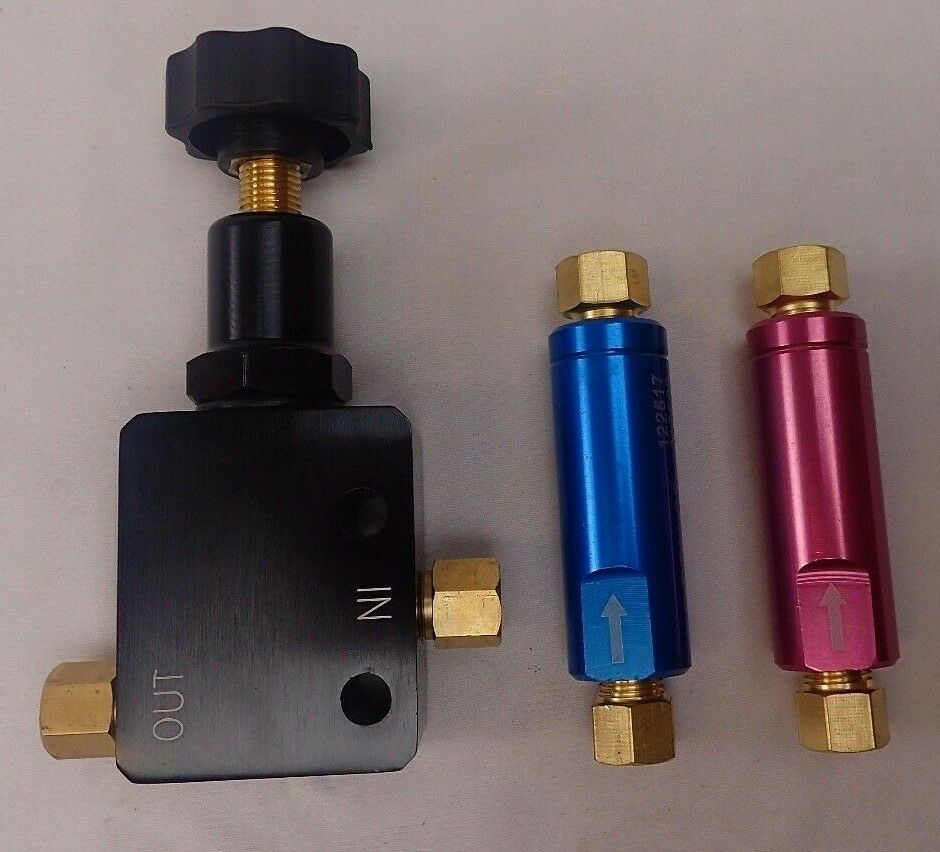
A proportioning valve manages how much fluid goes to the front and rear brakes.
Most kits offer everything you need for converting from drum to disc brakes. But it’s important to confirm which components are in the kit. A proportioning valve is required.
A proportioning valve determines how much brake fluid and pressure is dedicated toward the front and the rear brakes. Some valves are a fixed ratio, while others can be adjusted to fit your driving needs.
An adjustable valve allows for fine-tuning the brake pressure. It requires some testing and adjustment. However, with a fixed valve, you have to rely on the existing setup.
A lot of car owners only swap the front set of wheels to a disc design. That’s because the car’s front end is heavier and bears more responsibility for handling dynamic forces.
With the upgrade, you will be adding a caliper mounting bracket to the axle. So check that your existing rims can clear all the new metal pieces, with the bracket extending beyond the drum-brake pan.
This might be a great time to upgrade your rims at the same time.
Tips for Converting From Drum to Disc Brakes
Start the process of converting from drum to disc brakes by carefully reading the kit’s directions. Most kits offer a detailed instruction sheet. Some providers also provide telephone support, which can be very helpful.
Be aware that brake fluid is very corrosive. Take precautions to avoid the brake fluid getting near painted surfaces. Also, be sure to torque all fittings to the recommended settings. Consider using a thread-locker liquid to secure the bolts.
Here’s an overview of the process:
- Raise the front wheels and use strong jack stands to support the car securely.
- Remove the drum brake system. This includes removing the retaining nut, cotter pin, bearings, and washers.
- Remove the actual brake drum. Anticipate having to use some brute force or hammers to nudge an original brake drum loose.
- Remove the brake line and the retaining clip.
- Remove the backing plate and the drum’s internal braking pieces.
- Clean and then grease the spindle.
- Install the caliper mounting bracket.
- Grease and install the bearings.
- Place rotor on the spindle.
- Add bearing and retaining nut, cotter pin, and grease cap.
- Mount caliper and install brake line on banjo bolt.
- Connect brake line, replace as necessary with rubber or stainless-steel lines.
After you install the brakes, you should bleed the brake lines. This is a good time to flush the master brake cylinder and use all new fluid. Install the tires and rims. Check for leaks and loss of brake pressure.
See: A Quick Guide to Replacing Your Brake Fluid
Test Your New Disc Brakes
The final step is gingerly testing the brakes to ensure they are working correctly. Then “seat” the brakes based on a controlled braking sequence as recommended by the maker.
Usually, this means braking moderately from about 45 miles per hour to 5 mph in a safe place like a deserted parking lot or backstreet.
Then let the brakes cool for 30 seconds before repeating the steps. Ten to 15 fifteen applications will seat the brakes and confirm that everything works smoothly.