Does your car make a screeching noise every time you step on the brake pedal? Does it sound like grinding rocks when you slow down? Those noises probably mean that it’s time to change your disc brake pads.
Here’s the good news: Changing brake pads is relatively easy. With a few essential tools and a couple of hours, you can restore your braking system to like new condition—and save money.
When to Change Brake Pads
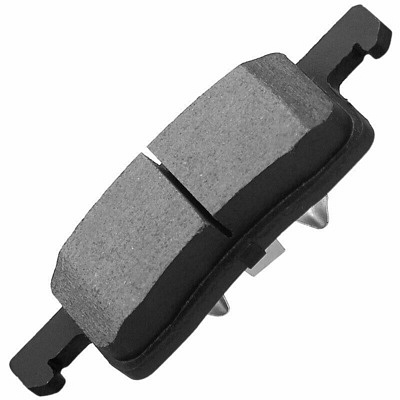
Most brakes use a simple hydraulic system. The car stops when the brake pads clamp on a rotor or disc attached to the wheel. Every time the pads clamp to the brake rotor, a bit of the brake pad wears away. Over time, as the brake pad material gets worn away, the brakes start to make a squealing noise.
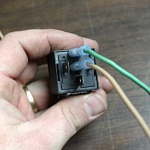
The annoying sound is a built-in safety feature designed to make you aware that it’s time to change the pads. Some cars also have a sensor on the brake pad that alerts you with a dashboard indicator light.
If these warnings are ignored, the brake pad material will ultimately wear away, leaving just the brake pad’s steel backing plate to make contact with the rotors. This could damage the rotors, requiring both the pads and the rotors to be replaced.
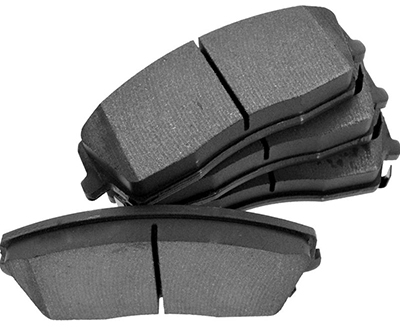
Shop now for brake padsAlways replace brake pads in a complete set, not on individual wheels. It can be dangerous for one wheel to brake faster than the others.
Tips for Changing Brake Pads
Most cars today have disc brakes, but some older cars have drum brakes. The following process is only for vehicles equipped with disc brakes.
Find a clean, level, well-lit space for this project. Because brakes use clamping friction to convert motion energy to heat, they can get very hot. Let them cool down before starting to work. Then, work on one wheel at a time.

A brake-caliper retractor is very helpful when changing pads.
Required tools:
- 1/2” or 3/8” ratchet
- Ratchet extensions
- Breaker bar
- 3/8” and 1/2” sockets (in metric or US standard, depending on the type of vehicle)
- Hydraulic jack
- Jack stands
- Pry bar
- Brake caliper piston retractor
- Wire brush
- Gloves
- Safety goggles
- Brake cleaner
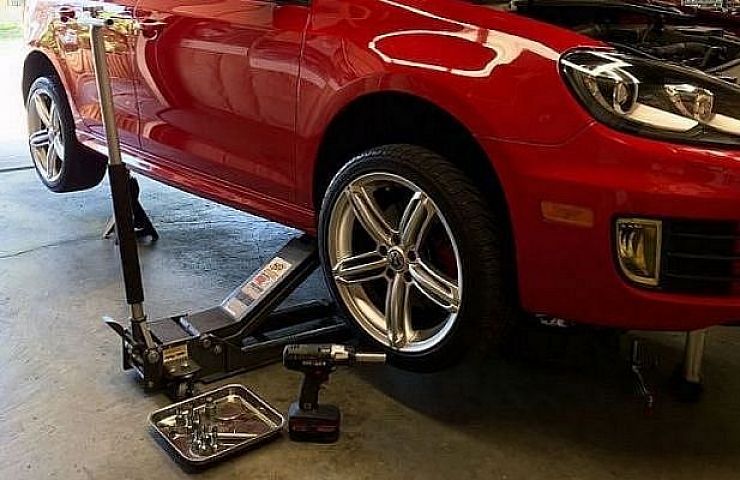
The first step is to remove the wheel from the car by loosening the lug nuts. This is easier with the tire still on the ground. After they are loose, lift the car fully and secure it with a jack stand.
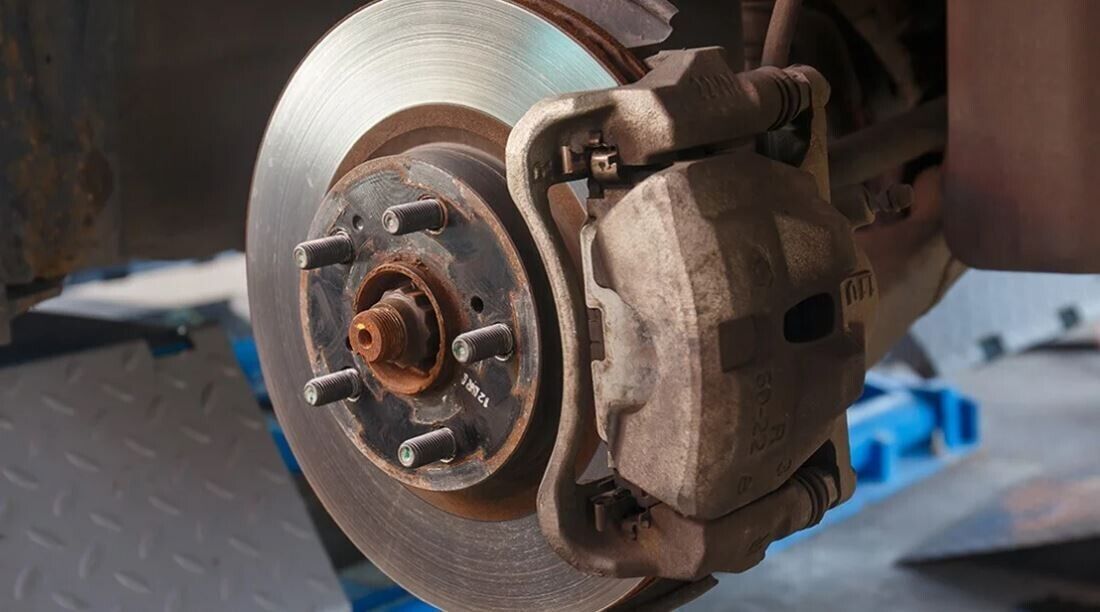
Brake calipers typically use a two-piece design with the caliper bolted to the wheel strut or axle. Remove those bolts and pull the caliper off its mounting bracket, exposing the brake pads. Take a picture of how the pads are oriented before removing them. The photos can be a visual reminder as you install the new pads.
Never let the brake caliper hang by its brake line. Instead, use a piece of wire to hang the caliper securely.
Inner and outer pads can be different. Note the old pad’s position so you can install the new pads in the same way.
With the old pads removed, give the entire brake caliper a good cleaning with a brush and brake-cleaning spray. Spray where there is adequate ventilation.

Cleaning the rotors is an essential step.
You must retract the brake caliper piston to fit the new pads. Use a brake caliper piston retractor to push the piston completely back into the caliper. A big C-clamp could be used for this purpose as well. In some cases, the rear brakes will require a special tool to retract the pistons. Refer to a shop manual for your specific vehicle to avoid damaging the brake calipers.
Place the new pads on the caliper or pad carrier and add anti-squeal grease to ensure smooth operation. Apply the grease to the system’s moving parts, not the friction pad.
Bolt the caliper back to the mounting bracket and double-check your work. Reinstall the wheel, and repeat for the other three wheels.
Test Your Work
After you install the new pads on all four wheels, pump the brake pedal with firm pressure. Three pumps should be enough to confirm a firm response.
Next, check the brake fluid reservoir to ensure it has the proper brake fluid level.
Read this: Regularly Check These Four Car Fluids
Shop now for brake padsFinally, it’s time to try the new brake pads on the road. Find a lightly traveled street and accelerate to about 60 miles per hour. Gradually brake to about 40 mph several times. Repeat from 50 mph to 30 mph, this time braking more aggressively. Some manufacturers offer other specific directions to break in the pads. This will “seat” the brakes, the final step.
Brake Pad Replacement Costs
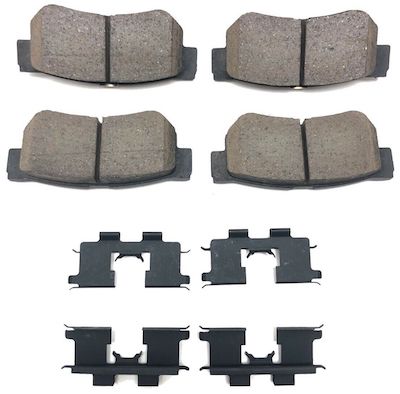
Brake pads, available with different pad compounds, can cost about $50 to $200 for a set of four. Shop for the best pads by specifying your vehicle’s year, make, model, and trim level. Buying the most expensive set isn’t always necessary. Spending more, however, usually results in a brake pad that lasts longer, makes less noise or dust, or performs better on a high-performance vehicle.